For well-known pastelist Liz Haywood-Sullivan, successful plein air painting begins with slowing down, looking carefully, and sketching a scene multiple times before she ever touches pastel to paper.
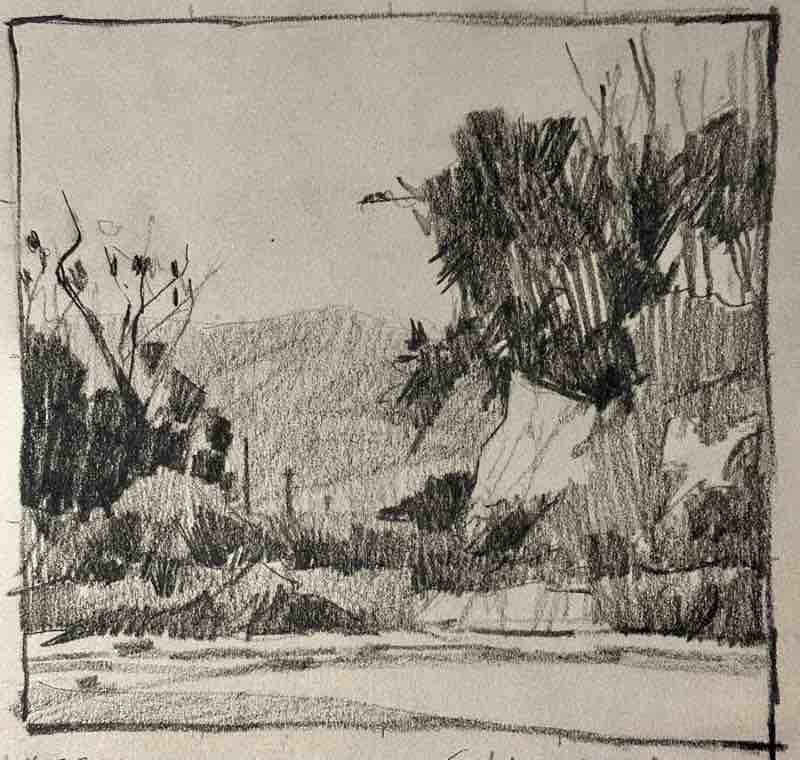
STEP 1
“All of my paintings start in a sketchbook, where I investigate ideas before committing to larger images,” says Haywood-Sullivan. “Here, I started with black Prismacolor pencil, focusing on evaluating the value structure and getting the drawing right. I’m also looking to see if the cropping and composition feel right.”
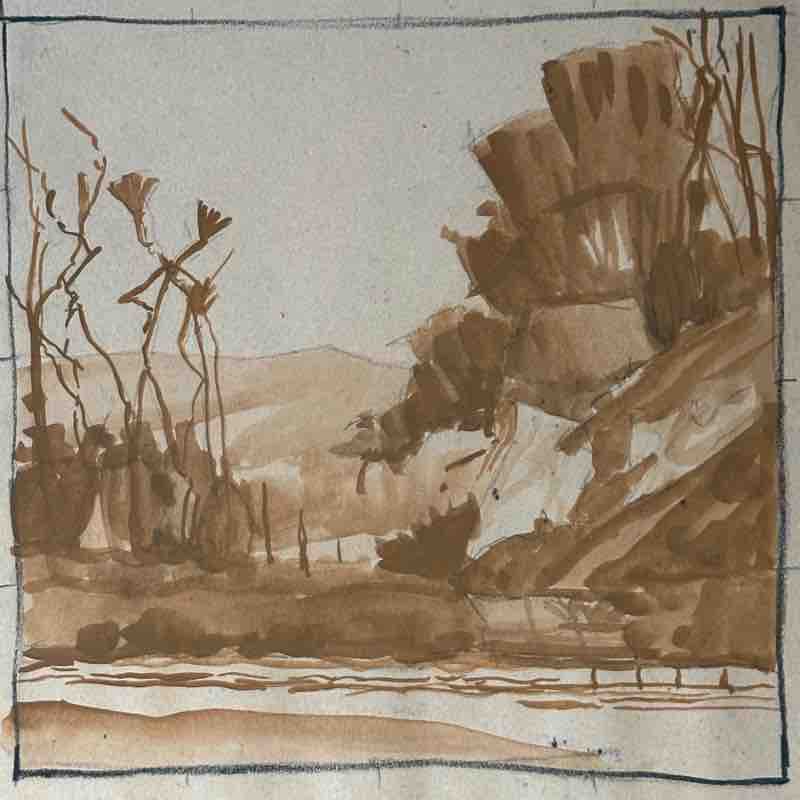
STEP 2
“I often explore an intriguing subject using different media. I prefer materials that don’t smear — no pastel, graphite, or charcoal. So I did a second value study using water-soluble ArtGraf, which is a small disc of pressed pigment in the shape of a traditional tailor’s pencil. Every time I draw a subject, I see it better. Although I like the square composition, I’m not sure about the big gap between the two foreground land masses.”
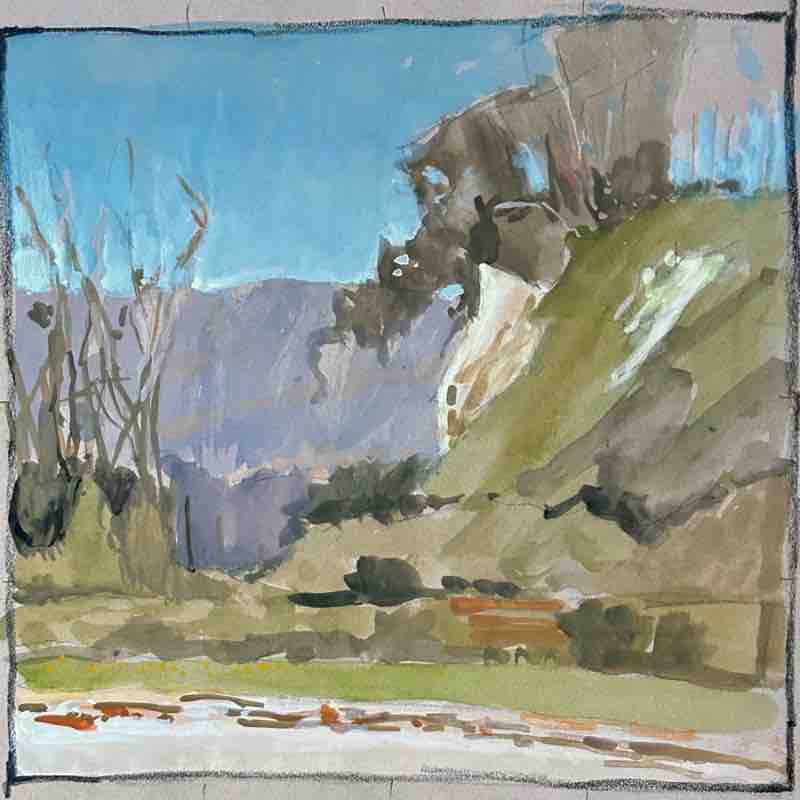
STEP 3
“Using watercolor and white gouache on a mid-toned paper, I added full color to the different value areas. I like doing this because I can build up the lights as well as the darks. The sky came out too dark because the gouache dried much darker than it initially went down. But it’s better to make value mistakes in a sketch rather than in a large painting.”
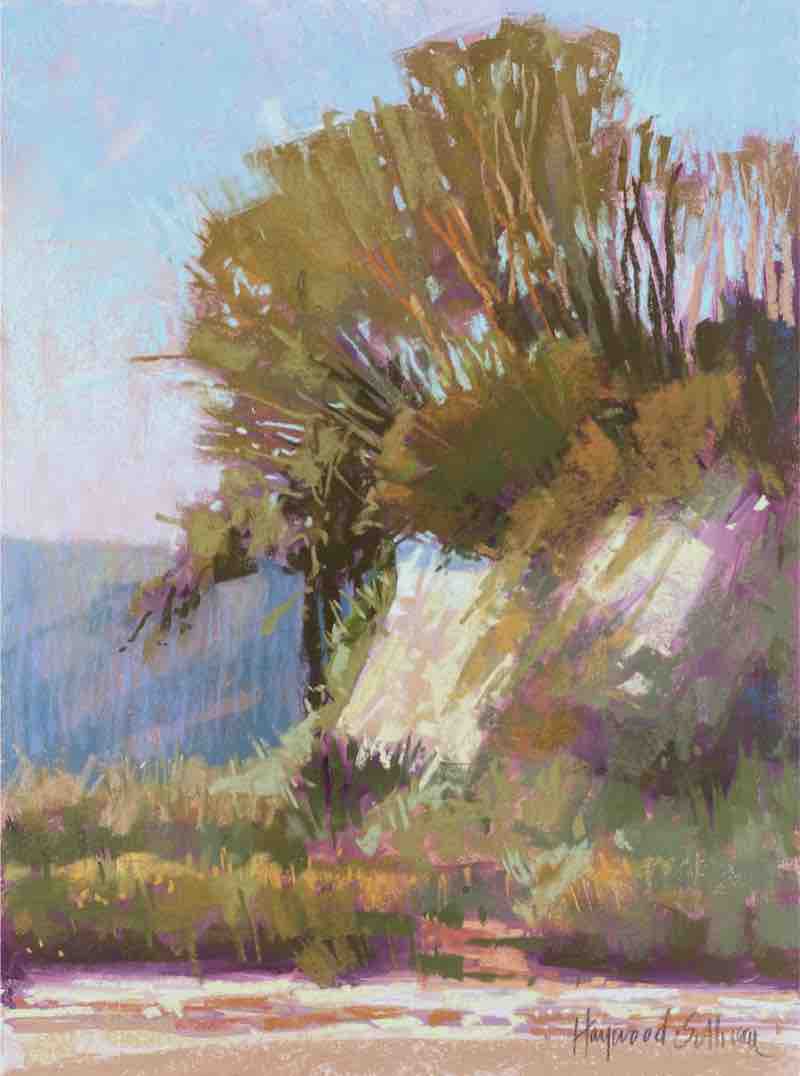
FINAL STEP
“The day after I created the three studies, I returned to this spot near Santa Barbara, California, to do a full-size pastel. I decided to see how it would look like as a vertical, which focuses attention on the white, chalky cliff and the foliage around it. The vertical has a different attitude, with a single focal area that’s not quite as dynamic. I used a warm magenta underpainting to enliven the predominantly green image that I titled Goleta Beach [pastel, 16 x 12 in.].”
